Ring Doorbells are praised for their easy and straightforward installation. Simply remove the existing doorbell button, mount the bracket, connect the wires (or not, for wireless Ring doorbells), and tighten the security screws. That’s it. Easy-peasy.
But these steps only apply to regular or wide doorframes. For narrow doorframes, installation is a bit trickier. Although some models are specifically designed for narrow frames, like the Doorbell Pro, others require the addition of corner or wedge kits.
In this article, we’ll discuss how to best install ring doorbells in a narrow doorframe without breaking the bank (or your doorframe). Let’s dive right in!
7 Ways to Install Ring Doorbells to a Narrow Doorframe
Narrow doorframes pose several installation issues.
For one, it prevents you from properly mounting your doorbell, making it susceptible to damage and theft.
It might even lead to blind spots that a burglar can take advantage of, especially if the doorbell is placed too close to the sidewall.
Prevent these issues by following the methods below.
Method #1: Invest in a Corner Kit
A corner kit—particularly Ring’s corner kit—allows you to adjust the doorbell’s viewing angle by 15, 30, and 45 degrees to ensure better motion detection and better field-of-view. This is especially useful for narrow doorframes that grant only partial view because of the wall’s position.
With this kit, you’ll get a clear view of the outdoors without capturing the 40-50% of the sidewall. It’ll also give you a better view of people walking up and down your street and towards your house.
Although you can get any type of corner kit, we recommend the Ring Corner Kit as it’s designed for Ring video doorbells. Plus, it comes with stackable wedges that you can customize and paint to match the color of your door.
Here’s how to install the Ring Corner Kit to your doorframe.
- Mark the location where you want to attach the doorbell and check the doorbell’s position. The doorbell’s camera should show most, if not all, of the door’s entryway.
- Check the level with the level tool Ring included in the package. The doorbell should be 4 feet (48 inches) above the ground.
- Place the corner mount into the marked location and screw the screws into the top and bottom holes with a screwdriver drill bit.
- If you’re not satisfied with the angle, remove the screws and place an additional mount over the one you’ve already installed. This will increase the angle of the camera. Again, screw the mount in place.
- Connect the doorbell to the corner mount.
Method #2: Get a Wedge Kit
If the corner kit doesn’t work, you might have more luck with the wedge kit. The wedge kit allows you to angle your doorbell down so you can point the camera at a specific angle.
Like the corner kit, the wedge kit comes in three stackable wedges. These wedges offer camera adjustments of 5, 10, or 15 degrees. Installation is fairly similar to the Corner Kit. If you can’t quite get the angle right, you can stack both kits on top of each other.
Method #3: Use Your Wall
If the side of your doorframe is less than 2.5 inches wide, consider mounting the doorbell onto the wall next to your door. This way, you don’t have to worry about blind spots or drilling a hole in your door.
This technique is particularly useful for those who use battery-powered doorbells, as no wiring or complicated installation is needed.
It’s a bit trickier with wired doorbells, especially if the wiring isn’t very long. In this case, you’ll have to call a professional to run cables through the wall. If the wiring is long enough, mount the doorbell as close to the door as possible so the doorbell can record your visitors properly.
Also, make sure it’s visible enough so your visitors can actually see the bell.
Method # 4: Get the Ring Peephole Cam
The Ring Peephole Cam is specifically made for narrow doors and doors with peepholes. It’s fairly small, measuring at only 2.26 in. x 4.40 in. x 1.16 in.
It comes with the same 1080p HD camera quality as regular Ring doorbells, as well as infrared night vision and two-way audio communication. It also has a 155-degree horizontal field of view and a 90-degree vertical field of view.
Compared to the doorbell cameras, the Peephole Cam is installed inside your home. If someone knocks on your door, the Peephole Cam’s impact sensor will immediately notify you. You can also buy a Peephole Cam with a Ring Chime to hear real-time notifications when someone presses the doorbell button.
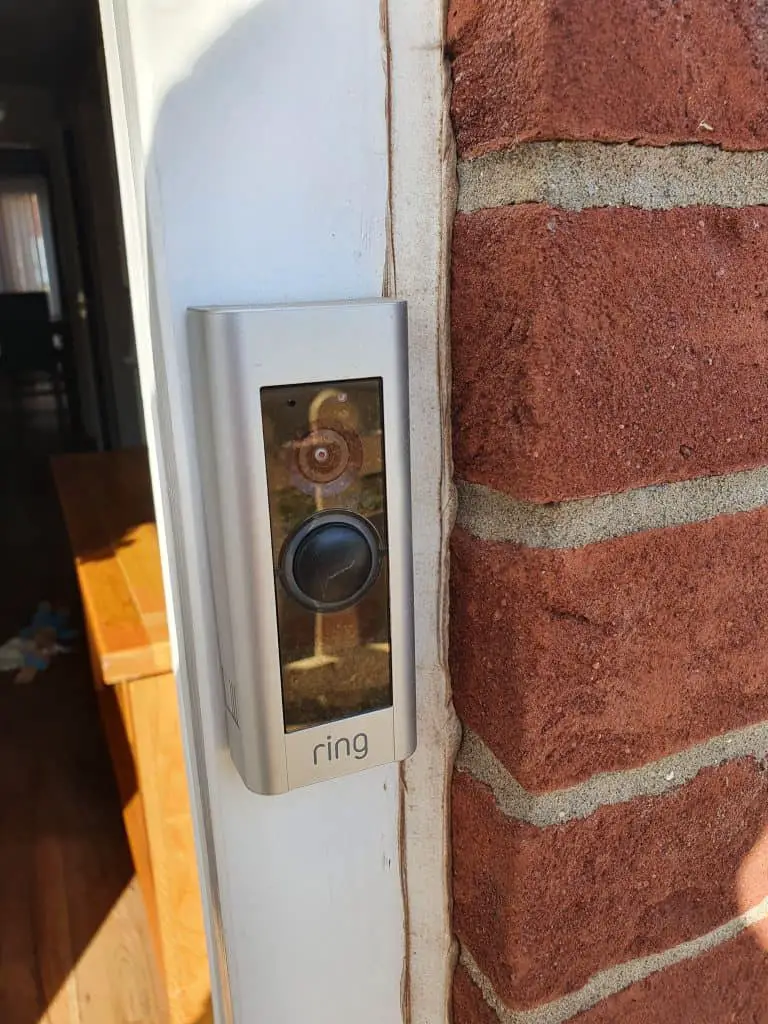
Method # 5: Get the Ring Doorbell Pro or Wired
If the Ring Peephole Cam isn’t your style, you’ll surely find the Ring Doorbell Pro (1 or 2) – or the Ring Doorbell Wired – more agreeable. These do not contain a battery, and so they are all thinner than Doorbell 1 and Doorbell 2, which measures around 5 in. x 2.5 in. x 1 in.
In comparison, the Pro is only 4.5 in. x 1.8 in. x 0.8 in. On paper, this might not seem like a significant difference. But the distinction is quite noticeable if you compare all three products side-by-side.
Likewise, the pro is far less bulky than the Doorbell 1 and Doorbell 2—35% less, in fact. This makes it suitable for doors with very narrow frames, as it doesn’t take much space at all.
Size aside, the Doorbell Pro is often dubbed as the upgraded version of Doorbell 1 and 2. It has a slightly better field of view at 160-degrees rather than the regular 155. It also uses LED lighting for better night vision capture and customizable alerts that you can’t find in the standard Doorbell. Moreover, it has a more reliable motion sensor.
It’s important to note that the Pro doesn’t run on batteries like the Doorbell 1 and 2, meaning it must be hard-wired to external wiring. This isn’t really a disadvantage, since hard-wired equipment is usually more reliable than the alternative.
However, you might have to contact a professional to install the doorbell for you if you’re not big on DIY.
Method # 6: Mount the Doorbell on Your Door
This option won’t work for wired doorbells, as the cables might snag from the movements of the door. If you have a battery-powered doorbell, like the Ring Doorbell 1 and the Doorbell 2, this option is ideal.
Instead of installing the doorbell on your doorframe, mount it in the middle of your door instead. This will not only give you a front view of your doorway but also give your home a chic aesthetic.
If you don’t want to install the doorbell in the middle of the door, you can chisel out the raised section of the doorframe’s molding to fit the doorbell. However, I don’t recommend this option as you can’t reverse it.
Method # 7: Replace the Trim With a Wooden Board
If the doorbell doesn’t fit the doorframe, replace the trim with a wooden board that matches the size of the doorbell. This technique is better than cutting the trimming of your doorbell and damaging it. This way, you can remove the board without long-lasting consequences.
For best results, check with a professional so he can seamlessly add the board without ruining the appearance of your door.
Where’s the Best Place to Mount a Ring Doorbell?
The placement of your Ring doorbell is just as important as the installation process itself. If the placement is off, your Ring Doorbell won’t effectively capture the surrounding area outdoors.
According to Ring, your doorbell must be mounted approximately 4 feet (48 inches) above the ground. It should also be installed flat against the door, doorframe, or wall.
If your door has an uneven surface, mounting kits and angle brackets help. These kits also allow you to tilt the camera from 5 to 15 degrees (Wedge Kit) to 15 to 55 degrees (Corner Kit).
Conclusion
I hope this article gave you an idea of how to install a Ring Doorbell into a narrow doorframe. The easiest method is to purchase a Corner or Wedge doorframe add-on by Ring. It’s fairly cheap, costing around $20 for the entire package.
You can also mount the doorbell in the middle of your door on the main wall. If you’ve just recently bought a batter powered Ring Doorbell, consider exchanging it for a narrower product like the Ring Doorbell Pro 1/2 or the Wired.
Good luck!
